Fabric Flowers With DIY Instructions
As expected for March, the weather turned. 😉
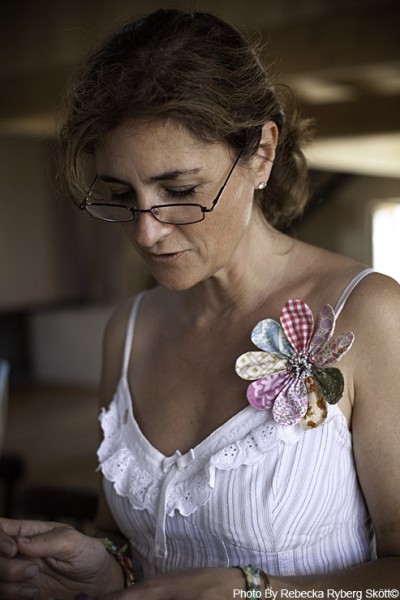
So, I figured I’d post a little DIY today about the fabric flowers from last week. Which were inspired by this image, as seen on Pinterest.
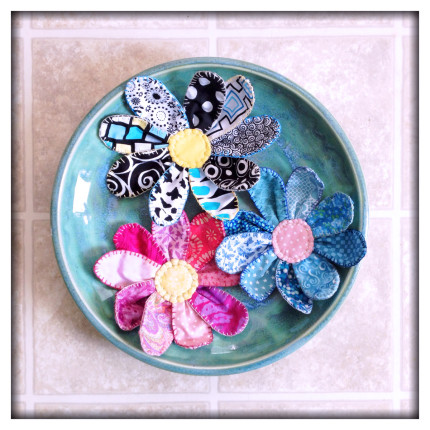
First, I sorted through my scraps to find fabrics that I thought would go well together. It was trickier than you would think to find 10 coordinating pieces, which is why I kept with more monotone flowers for this go-round (and why I dug into some not-so-scrappy fabric as well). Please note: I took photos using the three different flowers I made, so the patterns might change as we go along. 😉
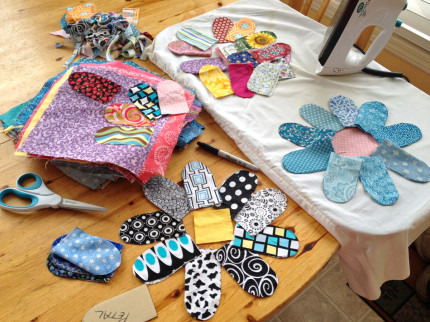
Next, I cut a petal pattern (see above) out of cardboard. The initial petal was a rectangle about 10.5cm x 5.5cm (~2″x4″) with rounded corners on one end, but I found that it resulted in “too floppy and large” of a flower for my tastes (as seen below). So, I trimmed the petals down to about 8cm (3.25″) in length instead (and salvaged what I could).
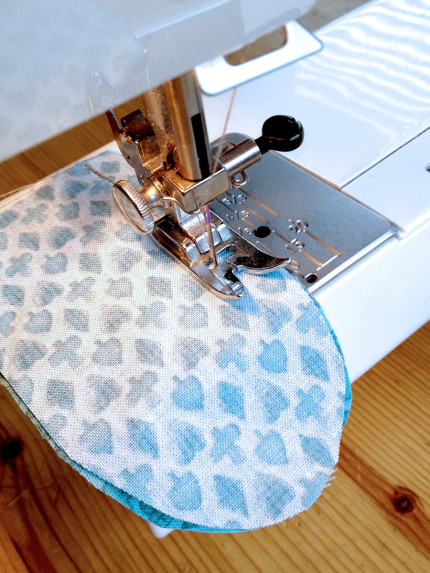
Next, I cut out two pieces of fabric per petal – I tried to keep them both the same for each petal, but sometimes I admit, the “back” was different from the “front”. For each of the 9 petals, I sewed them with right-sides-together in a big U-shape, using the edge of my presser foot as a seam-allowance guide. I left the flat end open, but back-and-forth stitched the ends to keep them really secure. Alternately, you could simply baste these together using a needle and thread.
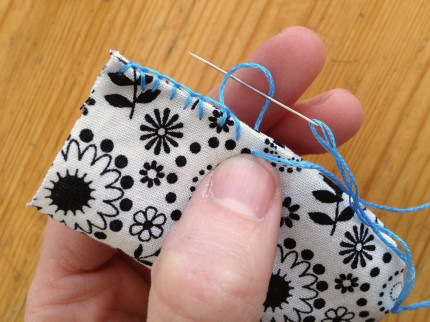
Once all the petals were sewn, I turned them right-side-out and used 3 strands of embroidery thread in a contrasting colour to blanket stitch around them. Personally, I liked varying the lengths of the stitches.
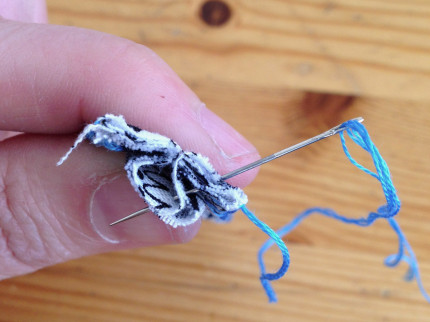
When I got around to the flat end, I pleated each petal in an “omega” shape, and blanket stitched it into place on the end as well.
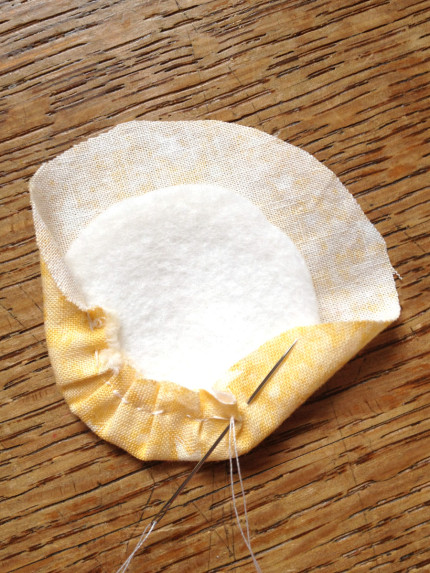
After all 9 petals were finished, I moved on to the 2 flower centers (front and back). First, I cut out two felt circles the size that I wanted the centers to be – in this case, they measured about 4cm (1.75″) across. The felt would provide a bit of “sturdiness” to the centers. Then, I cut out two slightly larger circles in the fabric that I wanted to use. Finally, using needle and thread, I gradually folded one piece of fabric over one piece of felt (as shown below), basting it in place. I was careful to only put my needle through the edges of the fabric and the felt – NOT the “right” or “showing” side (in the photo below, the underside) that would be seen in the final product. Repeat for the second circle.
Using a needle and thread, I then basted the petals onto one of the centers (as shown below), again being careful to not stitch through the “showing” fabric. I discovered that it is best to put the petals on with the pleat facing upwards, overlapping the petal ends about 1/2 to 1/3 of their width. Also, only stitch the first petal about half-way (in the direction you are working) – leave the beginning half open so that your last petal can tuck underneath the first. This center has now become the “back” of your flower.
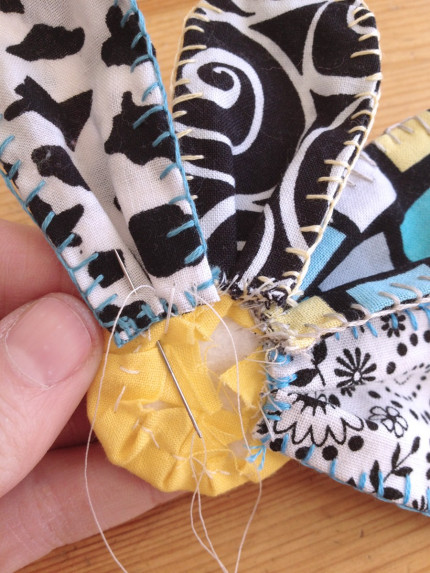
Once all the petals were attached, I placed the second circle on top…
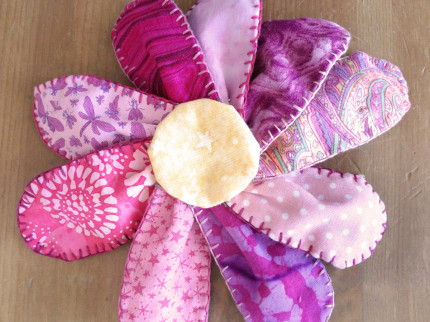
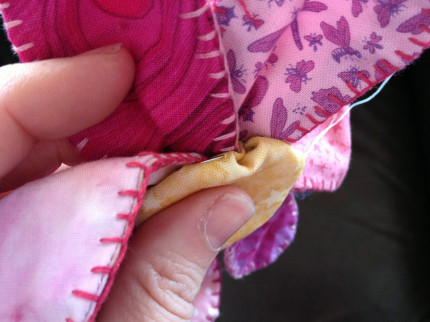
… and this is the slightly trickier part, I lined-up the second circle with the first, and basted it onto the petals – again, trying not to put the needle through the “showing” fabric. It doesn’t have to be on very securely, so a few loose, hidden stitches all around the circle is fine.
Once everything is together, it’s time to add the contrasting blanket-stitched thread. This is the most difficult part to explain, so I have included letters to help me out.
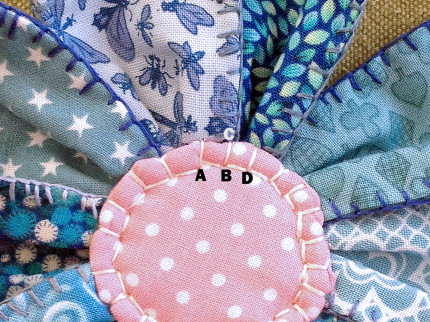
Knot embroidery thread at end and hold the flower facing upwards. Peek around back and insert needle at point A – but between the back center and the petals (to hide the knot). Pull through. Push needle through point B * and go all the way through to the backside. Bring the needle back through point C. Push through point B a second time (peeking over the back to make sure it comes through at the same place as before). Now. On the backside, insert the needle at point C again, BUT – on your way through the center of the flower towards the front, tilt the needle so that it comes through the front at point B instead of C!!! Then, push the needle through point D – and you’ve started your second stitch (i.e. “D” becomes your new “B” and you repeat from * until the flower center is done). Tie the thread off on the backside of the flower, trying to hide the knot between the center and the petals.
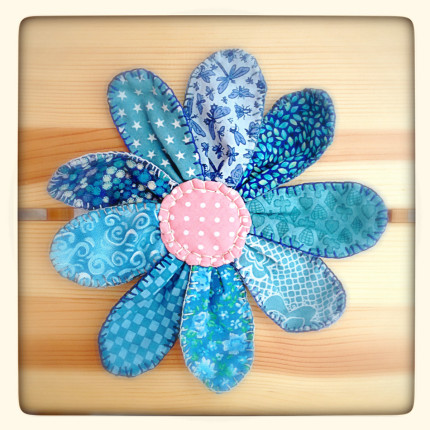
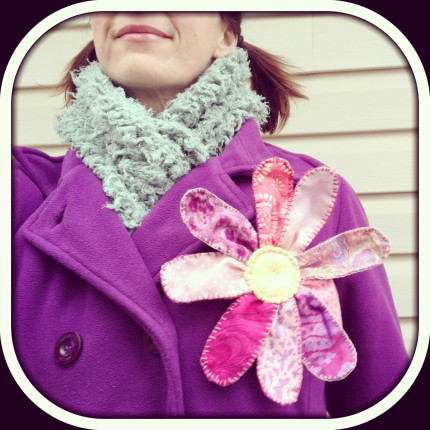
Voila! A fabric flower that is as pretty (and finished) on the back as it is on the front! By assembling it this way, I found it had a nice “natural” curl to it. Stitch an alligator clip or safety pin on the back of it, and you can decorate your clothes, put it in your hair, even add it to a gift!
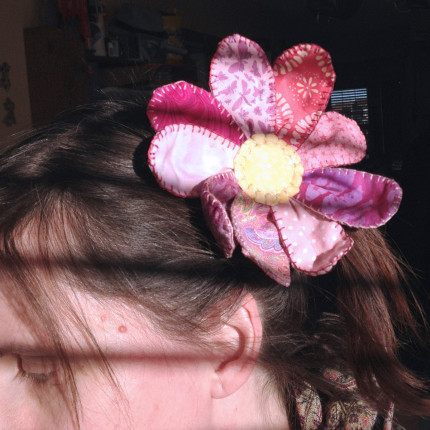
I still think they are a little bit too large at this size – I may experiment with decreasing the petals and centers by about 1cm (1/4″) all round – but I really like how they turned out. I actually want to finally buy one of those “jelly rolls” of coordinated strips of fabrics, which would make this job SO much easier. 😉 But, there you have it. DIY fabric flowers to add cheer to an otherwise snowy and gloomy day. Yay!

2 Replies to “Fabric Flowers With DIY Instructions”
Kate, these are wonderful, and they look like so much fun to make.
Definitely some very much needed color.
Thank you for sharing the how-to.
Happy day to you!
Thanks, Lisa. Indeed they were. =)